Showing posts with label banner punch. Show all posts

Wednesday, July 2, 2014

It Started with...

Reminder of yesterdays post...
So, what are these you ask... Those are slats from a louvered bifold door.
Yes, I love bifolds for the height they offer. This one actually came apart, I saved the slats knowing that I could come up with SOMETHING to do with them...

While shopping with my wonderful Hubby, we saw this kinda cool picket fence picture holder and this is where I started thinking!! 
You NEVER know where your inspiration will come from.

Here is how it started!!
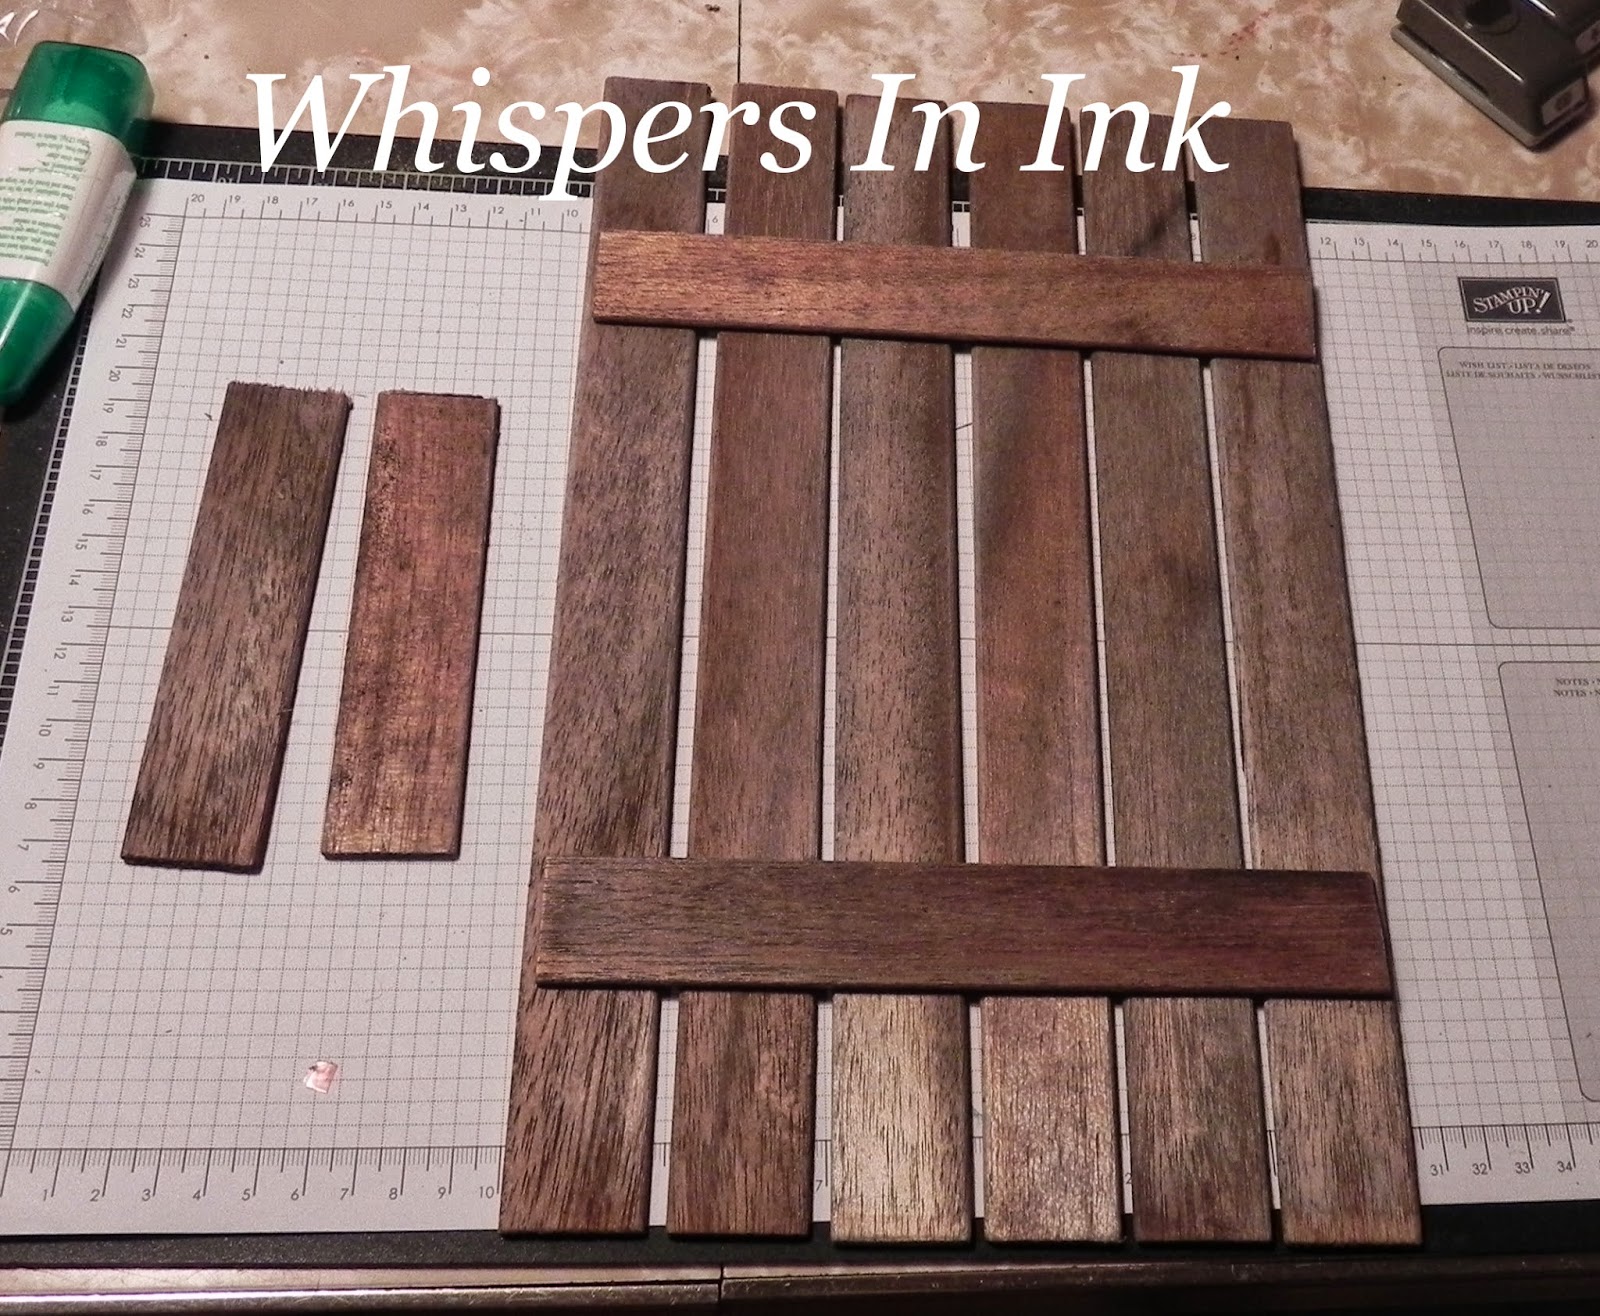
Using the Tombow Multipurpose Glue, which by the way is not the best adhesive for this project, but all I had at the time... the hot glue gun didn't work either.  Which now you see where my problem came in on yesterday's post.  My Hubby suggested a multipurpose epoxy, but none at the house, doesn't it figure, GEEZZ.
Anyway, all the slats were the same length, using a box cutter it was easy to "trim" the two vertical pieces to the size needed.


 Paper, Ribbon, Linen Thread and half of a Doily.

This Stamp set, Feel Goods, is FULL of amazing phrases. This one is one of my favorites.
Yes, I did "dirty" up the edges of both papers here.


This comes together and just adds, I think, to the rustic look of my 'fence' section.


I am sorry, I forgot that the Bigz Butterfly die retired until I starting putting together my post. 
Really wanting to use the metal, and not sure about punching it out, I left it.  

Decorative Dots Embossing folder is how those polka dots got on there, YES you can emboss metal, so long as it is thin.


Pleased with how the 'flower' turned out, I will show you tomorrow step by step how it all was put together.


Ready for the whole thing?? 
This could be an even longer post, if I showed you all the steps of the flower.


A few flowers with Rhinestones and a few others from glitter paper.. and those just add the pretties.

See you tomorrow with the flower post and
Have a Great day getting Crafty!!

Tuesday, June 10, 2014

June '14

Sorry guys just a quick post today...

Working on Masculine cards last night AND had a helper with organizing my retired stuff, I am sooo Thankful!!!

Organizing first... 

When stuff retires I pull it all and then pick thru what to keep and what to pass on to others..

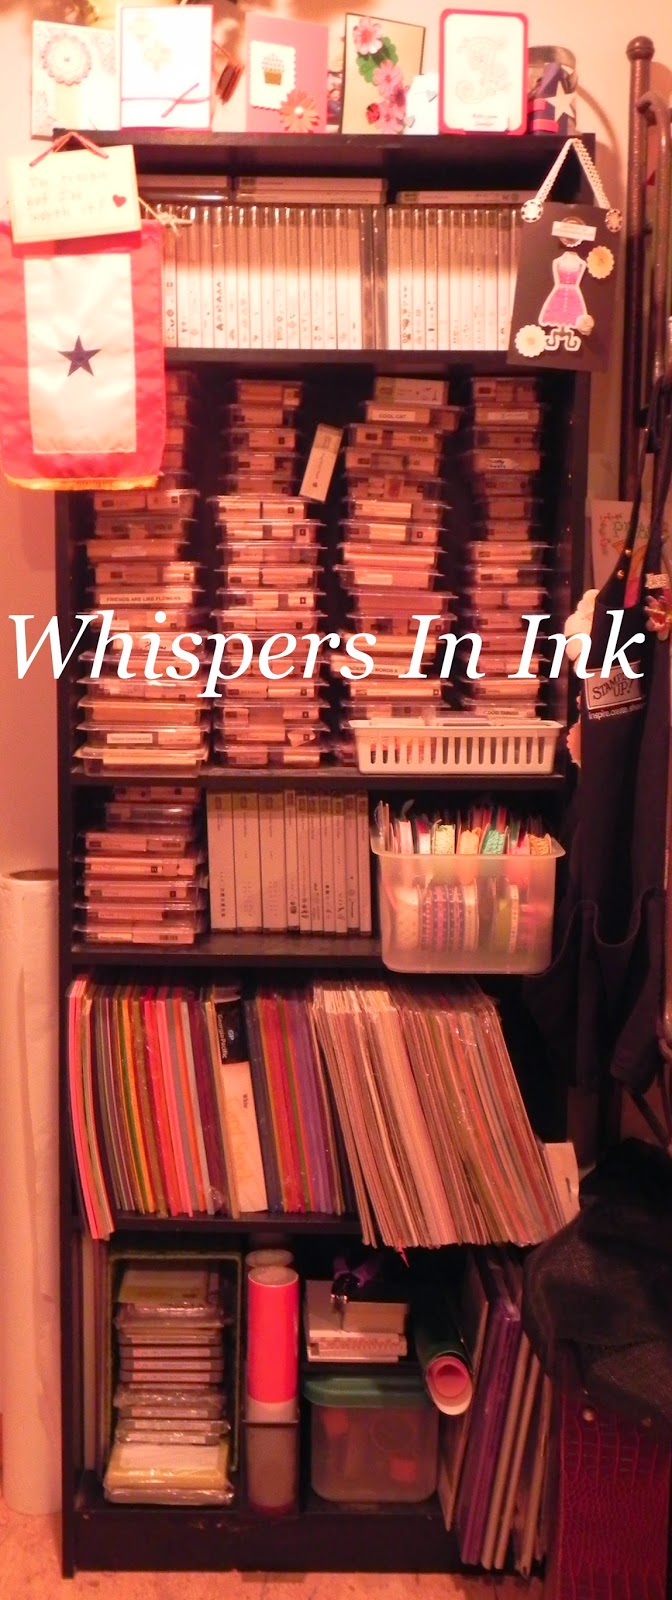
Here is one of my two bookshelves

This one is now has all the stamps, paper, ribbon,big shot stuff and of course some Misc... 

Yes that is a lot of stamps.... but ohhh I have sold some 
and given some away.


Today's card is a Masculine card either birthday or even Father's Day.


Yes, posting from the craft room again....
The Hardwood stamp is such a universal stamp.

The Thick Bakers Twine in Baked Brown Sugar.
Yummy!!


Touches of Cherry Cobbler just add a splash of color, the Banners smallest Frame for our postage mark.

Have a Great day getting Crafty!!

Sunday, June 1, 2014

It Started with.... June


It Started with just...


This wooden frame.... You have seen them, at the local Craft Store!!
How much are they you ask?? Yup, Just $1.00
Jennifer, What can you do with that?? I know you are asking me!


Here is what you will need... One frame. (and there are several different sizes and shapes) Designer Series Paper(DSP) of your choice, Several different adhesives 
(fuse tape, glue dots, tombow glue, hot glue gun too)
and your imagination.

This weekend and next weekend are the local graduations, so graduation it is.
Wanting to do more masculine type projects, here is where that went....


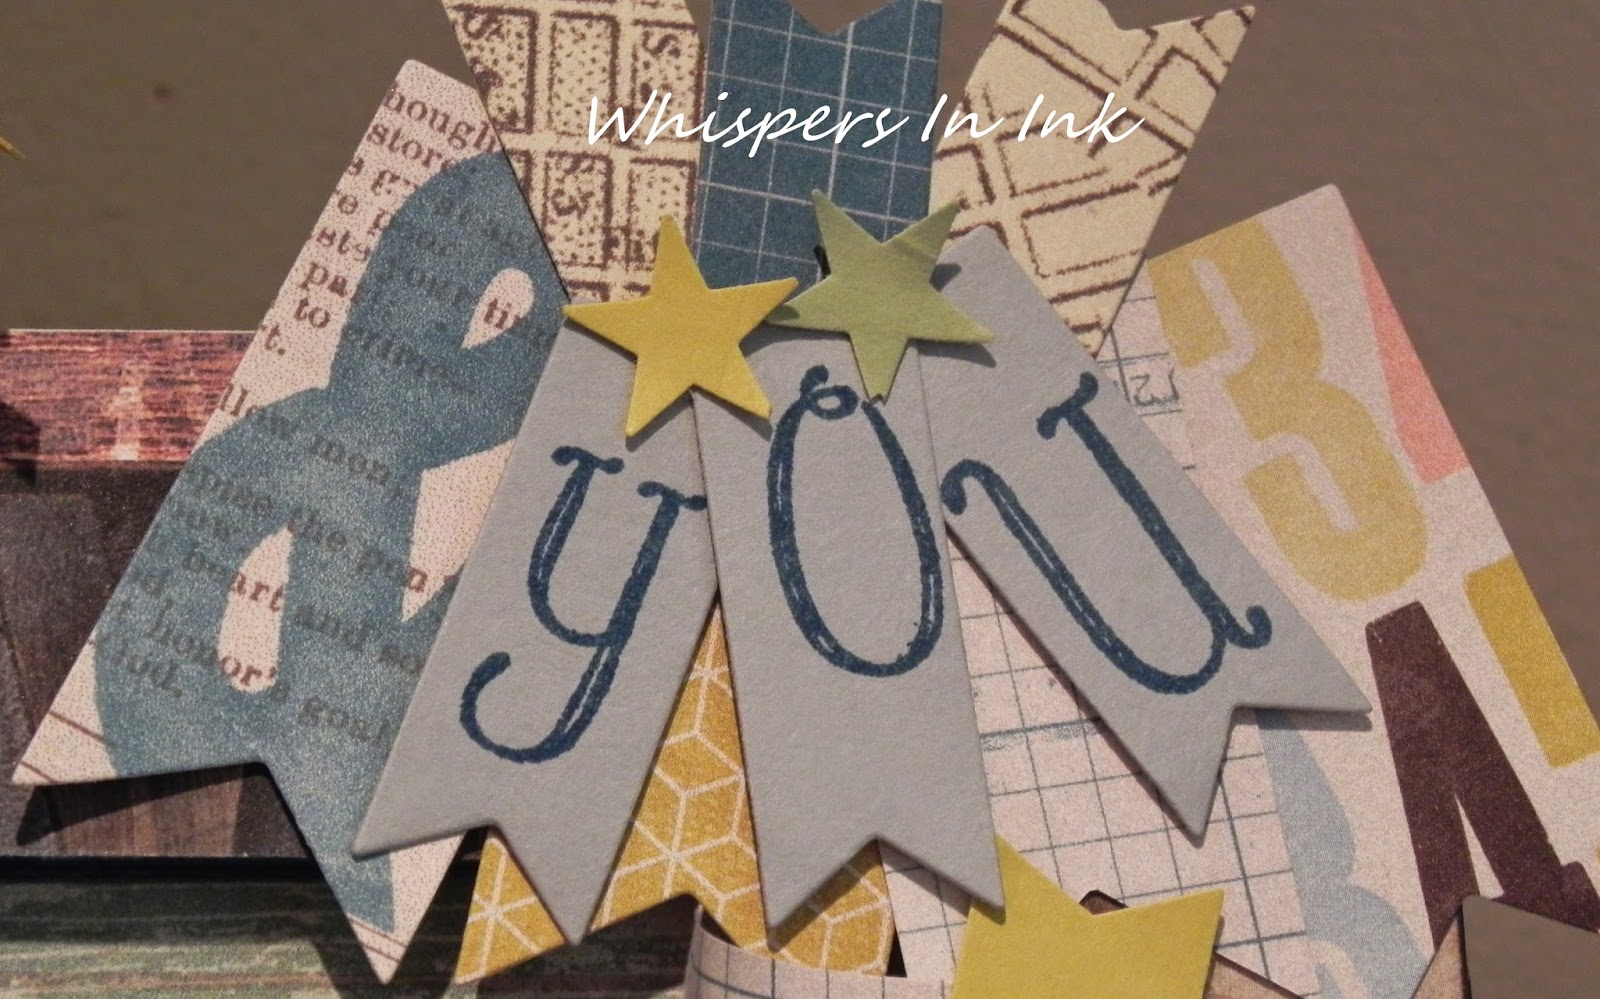
"You did it!!"


using the banner framelits

the new Punch Pack 

retiring Notable Alphabet

retiring Soho Subway DSP(both still available at time of post)


Using mostly DSP and just a splash of 
Pear Pizzazz, retired Summer Starfruit and 
Smoky Slate cardstock.


Bone folder to "curl" the ends.

What do you think of ALL the textures and layers??


I lost count of all the different patterns of DSP.


What to learn from one of my many mistakes! Use your Stamp-a-majig... I do hate that the "t" is off.

Don't know how or what that is... stay tuned this week and I will walk you thru the process.


Do you see the arrow?? yup those are in the new book!! That started today!! WoooHOOO 


This is the first time pulling out the fringe scissors. How fun are these?? And easy too! 
Just a piece of cardstock 2 1/5 by 4, use the scissors on the long end, sticky strip the uncut end, and wind up on a stick (or skewer above) and done.

Have a Great day getting Crafty!!

Saturday, May 17, 2014

Graduation


Here is a gift card holding gate card.

Love the picture right?? haha sorry, I have no idea what happened.  

To hold your gift card, just add a 1 inch strip of cardstock.  To secure that strip I used sticky strip. 

You could even put cash in this pocket. Notice that even the gift card tucks in and unable to be seen from the outside.


A gate card is a simple different fold, you can off center it, going wider on either side.  
For this card both sides are even, scored at 2 3/4.


The stamp used here is from Perfect Pennants, originally it said, Make a Wish.  But Dream seems to fit better for graduation. 

Using Gorgeous Grunge and the new Banner Punch covering the word 'Wish' was easy.

Have a Great day getting Crafty!!