Reminder of yesterdays post...

So, what are these you ask... Those are slats from a louvered bifold door.
Yes, I love bifolds for the height they offer. This one actually came apart, I saved the slats knowing that I could come up with SOMETHING to do with them...
While shopping with my wonderful Hubby, we saw this kinda cool picket fence picture holder and this is where I started thinking!!
You NEVER know where your inspiration will come from.
Here is how it started!!
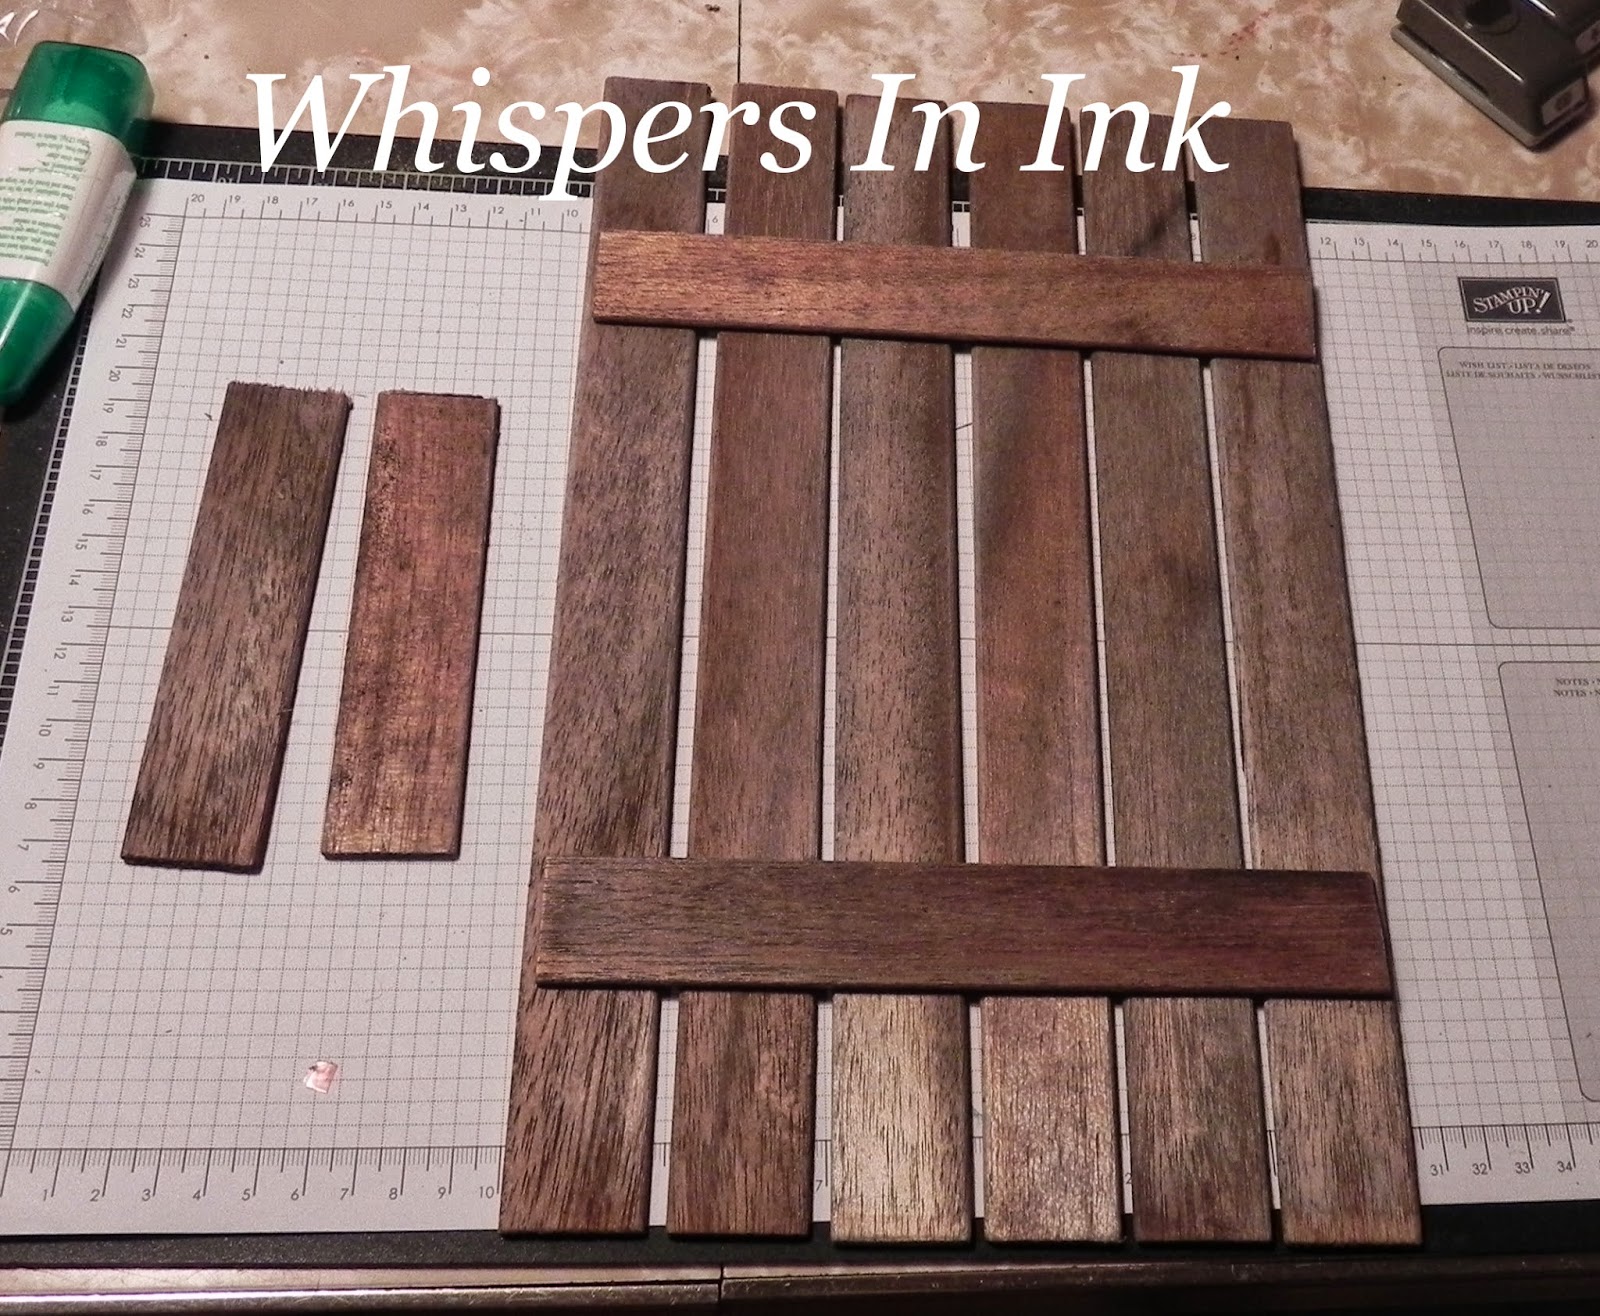
Using the Tombow Multipurpose Glue, which by the way is not the best adhesive for this project, but all I had at the time... the hot glue gun didn't work either. Which now you see where my problem came in on yesterday's post. My Hubby suggested a multipurpose epoxy, but none at the house, doesn't it figure, GEEZZ.
Anyway, all the slats were the same length, using a box cutter it was easy to "trim" the two vertical pieces to the size needed.

Paper, Ribbon, Linen Thread and half of a Doily.

This Stamp set, Feel Goods, is FULL of amazing phrases. This one is one of my favorites.
Yes, I did "dirty" up the edges of both papers here.

This comes together and just adds, I think, to the rustic look of my 'fence' section.

I am sorry, I forgot that the Bigz Butterfly die retired until I starting putting together my post.
Really wanting to use the metal, and not sure about punching it out, I left it.
Decorative Dots Embossing folder is how those polka dots got on there, YES you can emboss metal, so long as it is thin.

Pleased with how the 'flower' turned out, I will show you tomorrow step by step how it all was put together.
Ready for the whole thing??
This could be an even longer post, if I showed you all the steps of the flower.

A few flowers with Rhinestones and a few others from glitter paper.. and those just add the pretties.
See you tomorrow with the flower post and
Have a Great day getting Crafty!!


