Showing posts with label big shot. Show all posts

Thursday, November 6, 2014

Stamp a Stack

Today is the last day to sign up for...
 
Pick your Stamp - Stamp-a-Stack.
 
Here is how it goes... You pick one card and you can make 10,
or pick 2 and you will make 5 of each.
All for the total of $25.00.
 
Here are your five choices, I hope I did not make it an easy choice!!
 
 
 The stamp sets used are:
Ornamental Pine
Endless Wishes
Wondrous Wreath and Framelits
Bearing Gifts
Festival of Trees and Punch
 
Not a good enough picture....


for those of you that know me... I share all my cards with my son, Trevor even before you guys get to see them, sooo these are phone pictures, but they work.

Above is the Ornamental Pine easel card.  Simple and pretty.


 Endless Wishes is next, using the Trim the Tree paper stack and snowflake charm.


The next one is Wondrous Wreath using the matching framelits.
I do LOVE this screen door and look for ANY excuse to use it!!  
This one was Trevor's favorite until ...... Festival of Trees what completed


Bearing Gifts is our Forth idea.... adding All is Calm DSP and matching washi tape.


Last one is the one I had a difficult time putting together.  
Festival of Trees and the matching punch. Can you tell what other two Stamp sets are used on this??
Trevor's new Favorite.

Contact me TODAY!! to sign up for class.  
Pick which day Sat, Nov 15 or Sun, Nov 16 both noon central time.
I can not wait to see you again!!
 
Have a Great day getting Crafty!!!

Sunday, July 20, 2014


Can you believe it?? I did get this photo-polymer stamp set. 
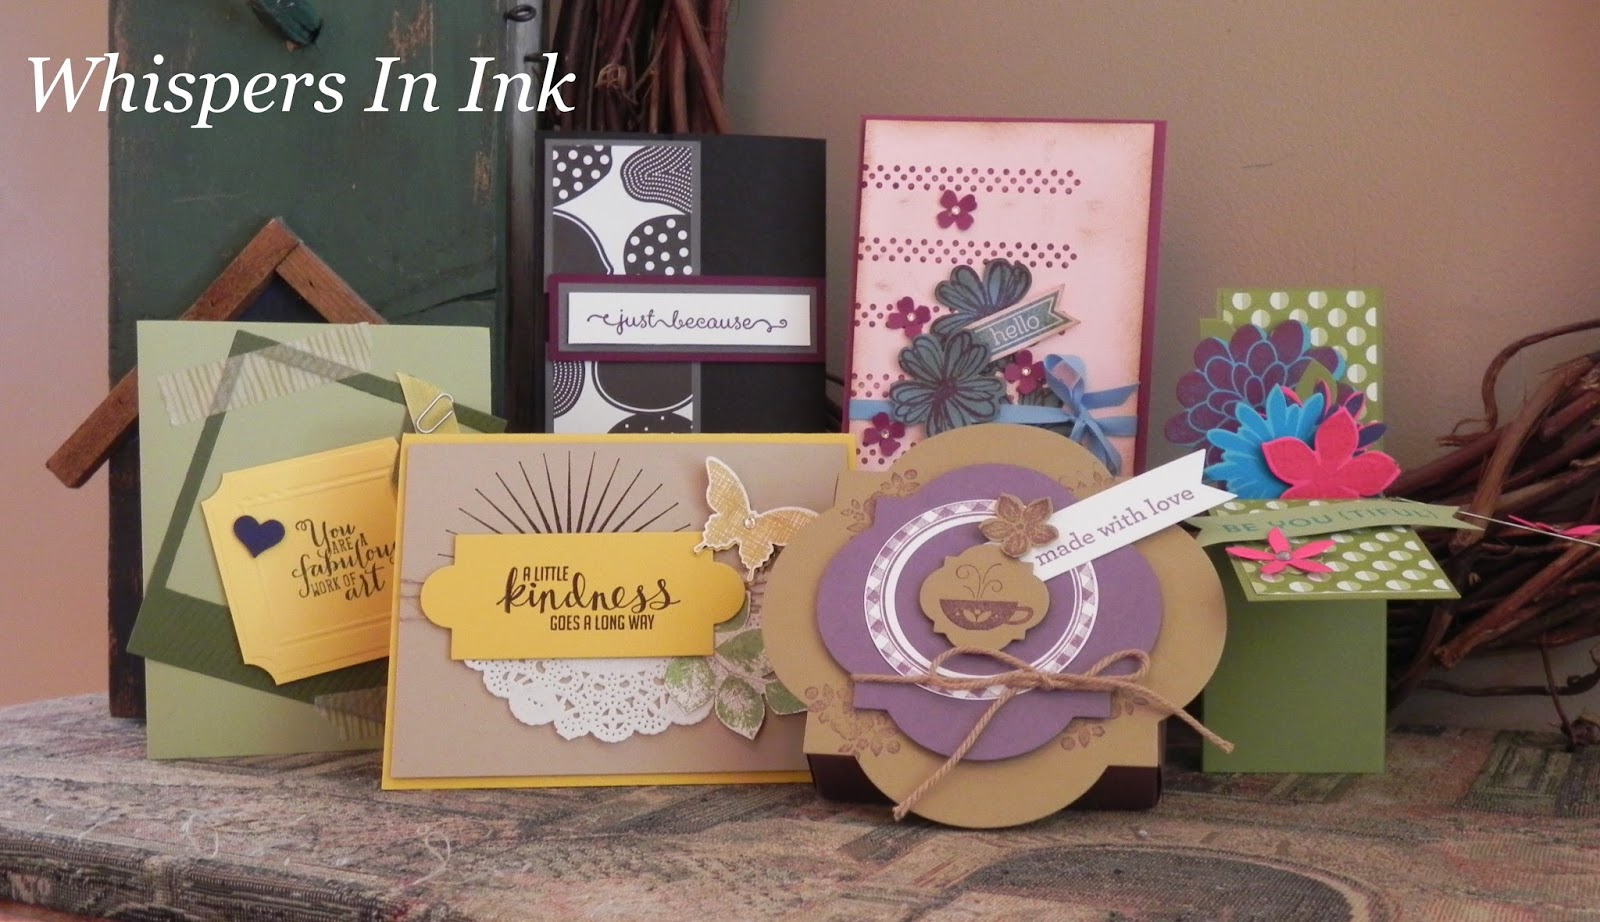
And guess what?? I really like it.  I have found that is works better with the new ink pads vs. the old (which yes I still have some).  This card in a box used all old ink pads and I have to say I LOVE it!!

This is the best sentiment.  
To me, it tells Anyone that reads it......"Being You" is Beautiful!! 


Using Tempting Turquoise and Melon Mambo on each other, it created two totally different colors, dontcha love that??

The accents of DSP here are from the Sweet Taffy pack.
(Note: buy 3 get 1 free does apply to this paper)


 Could you be grumpy after this one, I do not think so!!

Well, you have seen all from the latest stamp camp... between the Facebook posts and here..

 Have a Great day getting Crafty!!

Sunday, April 20, 2014

April '14

Happy Easter!!


I would like to show you my Easter Basket...


The layered background was embossed using Scalloped Textured Impressions from the Occasions book. 
 and a very decorated Easter Egg...

Petite Petal Punch that add just a pop of color.

Wisteria Wonder Chevron Ribbon is a Perfect Big ribbon.  


I used the the Oval Framelits and the largest is a Scallop Oval.

You can see the "hinge", how do you get that you ask... Well if you let the framelit hang over the side just enough you will get that hinge.


You know when you get something done and you think all day about what you should have done?? Well that is what I was doing Friday.  I did not like the empty inside and was pondering what to put on the inside... WELL it needed a bunny butt.


The picture is poor here (sorry!!), but wanted to show you how cute it is.. just using the small oval punch and yes, the petite petal punch for ears.

I hope you enjoyed this weekends cards!!
Happy Easter.
Have a Great day getting Crafty!!


Saturday, April 19, 2014

April '14


Happy Easter Weekend!!
 
I hope everyone gets to enjoy the weather and time with their Families!!
Today we have two cards, one more spring and the second clean and simple Easter.
 
 
Here is your spring card... Woodgrain Embossing folder, Butterflies and pretty Strawberry Slush Ruffled Ribbon.  Note the folded front... this is a half gate card.  Leaving half of your inside card exposed.  A couple more butterflies carries on the theme..


Keeping the Rhinestones to one color highlights them...

Two layers of Ruffled ribbon adds a presence ..


As you can see the front is basically flat, so this too is mailable.

It is difficult to see but on the inside there are two butterflies, one is "dirtied" up with a sponge to help you see it... in this small version of the picture it is difficult to see... enlarge to see what I mean.


Here is our second card... using Watercolor Wonder DSP and colors from that to highlight and bring the two different patterns together.  Banner Framelits are used here.  Yes, I really do like them!!


The stamp set is called Eggstra Spectacular.
 
This is a coloring that I can do, but apparently I should have pulled out the blender pen to do a better job, haha


This also has a low profile for easy mailing.
 
I do love my dimensionals though.
 
 
Have a Happy Easter! Stop by for a super cute card tomorrow.
 
Have a Great day getting Crafty!!


Sunday, April 13, 2014

April '14


Happy Sunday!!
Welcome to day two of Masculine Card weekend! 

Today is with out a doubt a Birthday Card.


The Banner Framelits were the way to go...


10 different banners (including the inside)...some pattern and some plain cardstock...
Trying to figure out the arrangement was difficult... actually.
Arranging before adhering is important.  They all ended up with the same straight line across the top but to me it still did not look finished.  But what do you do when you want to change things and YUP, you adhered the banners?? Well, get your trimmer out and ...


Make it go thru to the inside.  
Normally, I personally don't like to see the ribbon on the inside.  For this one though I had an idea.   I wanted to make it look like the banner actually "folded" to the inside of the card..

See how the banner happened to go to the outside edge?  That is why I put the inside sentiment all the way to the left (picture above).

With plenty of room available to write your note!!

I know there are a "few" people that will have an issue with this card due to the different patterns... that is why I used the plain cardstock in hopes to tame all the pattern.

Enjoy the rest of your Sunday!! and Have a Great day getting Crafty!!


Saturday, April 12, 2014

April '14


This weekend We are going to take a look at some more
Masculine
type cards... Today this one is intended as a Birthday card.


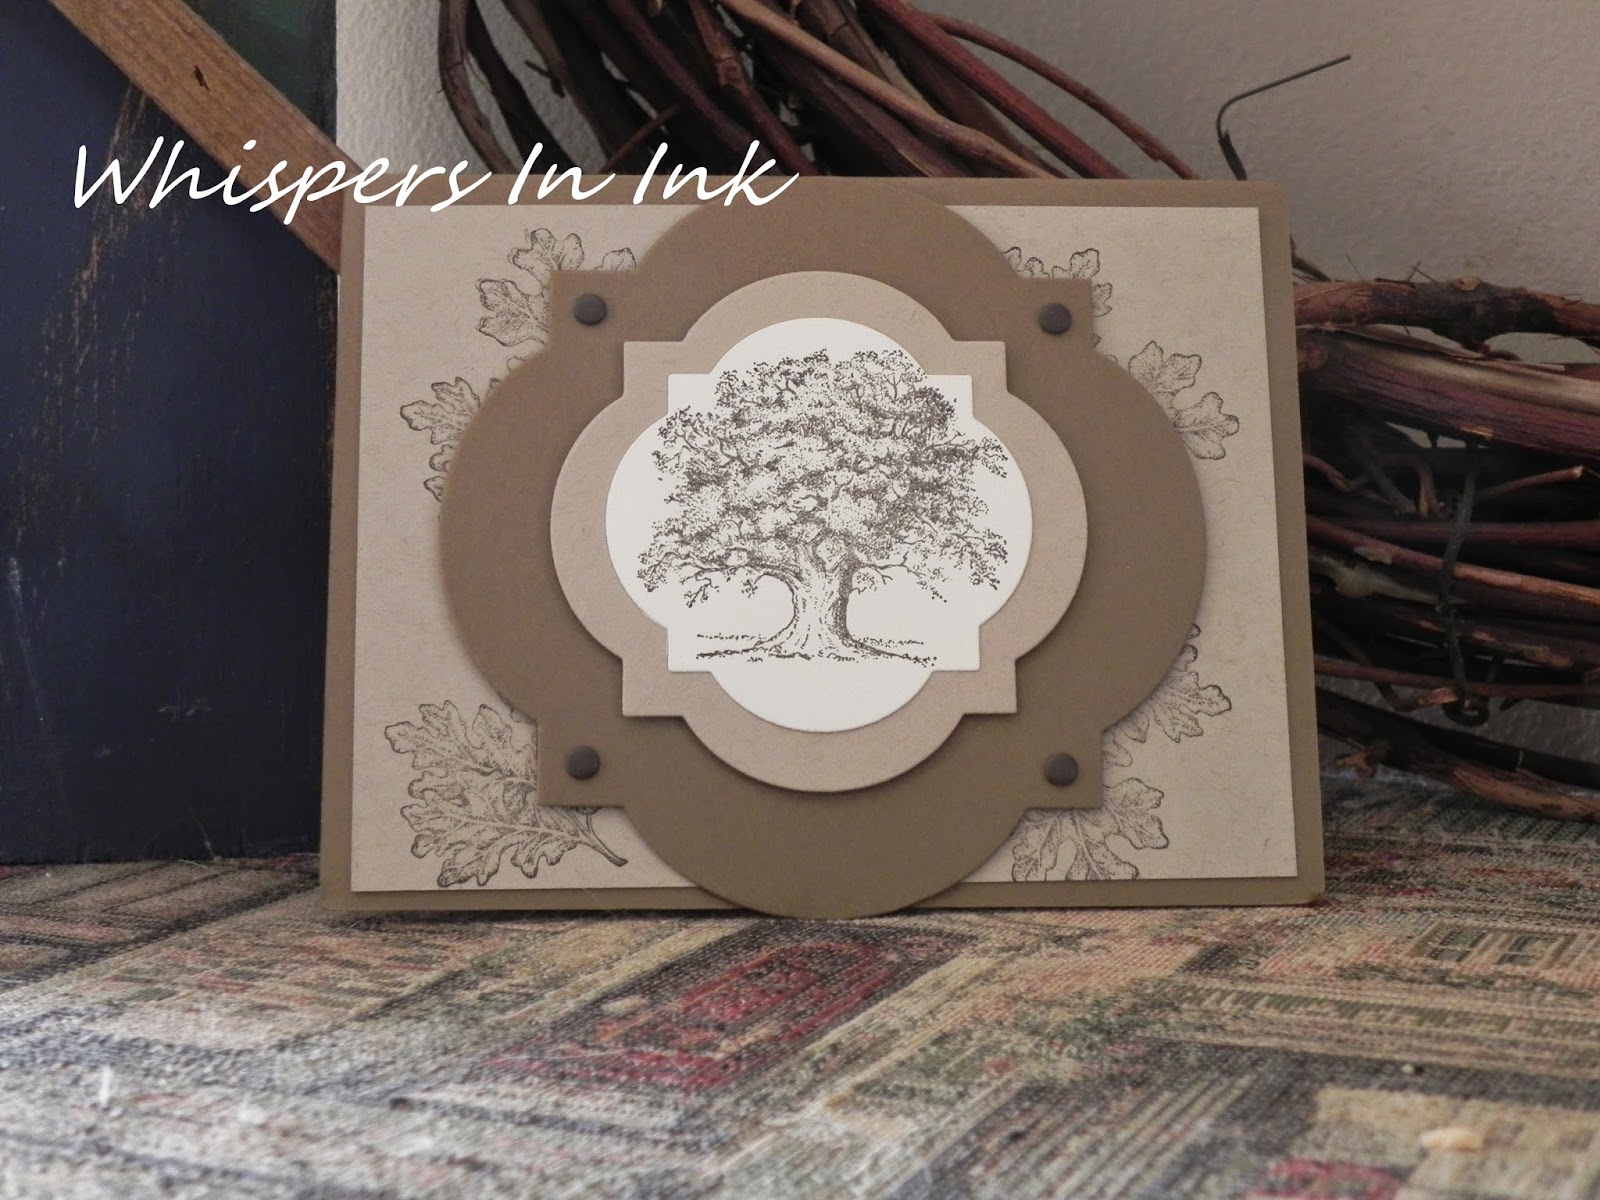
The Lovely as a Tree stamp set is a great and versatile set to own!!


using the leaves to make my own patterned paper,
the candy dots in the corners,
and the different sized Window Frames .


dimensional two layers (still mailable) and its the perfect card. 

Enjoy your Saturday!! Have a Great day getting Crafty!!

Tuesday, April 1, 2014

Weekly Deals... April 1


Causing some more trouble!!

It started with...

Happy Tuesday Everyone! 
 Happy first of the month!!
Happy $1.00 day....

This post is all about something that spurred an idea from just $1.00


This little wooden "basket".  
It was actually found for me, she knows who she is... and she was right, I love it!
So cute, right?? but what do you see??

Here is what I saw....
I was describing this idea, in its infancy, to my hubby and he says... ohhh so like an Easter basket.  So, I went with that.... Thanks sweetie!
 

 See the new rosette die?? and of course the petite petal?? 
The stamped flowers are from Betsy's Blossoms.


Using the scalloped punch it looks almost like a flowered letter.  


Keeping the raffia was a great place to perch a butterfly. Just an excuse, but it goes....


This birdhouse is made from the purse die and early espresso core'dinations paper... again it was the hubby who said it needed a bird inside.  The roof is made from one of the floral frames collection.  This little butterfly is a great way to "hide" a knot.


Trying to figure out what was used for the "house"?? 
Have you guessed?? It is 2 cut outs of the milk carton die. The roof is the pansy punch and petite petals punch. 


Now what to use for grass?? humm, How about candy?? 
The rest of the "basket" was filled with Easter candy.  

I hope you are enjoying this 1st of April.  Have a Great day getting Crafty!!

Saturday, December 1, 2012

It started with a $1


It started with just $1.00... yes found the wreath at a garage sale for ONE DOLLAR

and a few scraps...


At first I was just going to use the left over fabric and add the tulle behind the flowers,
It wasn't enough.... And yes I forgot to take a picture. Sorry.
 
I had the Angel that I picked up over the garage sale season. She has been hanging in the Kitchen patiently waiting for her proper place.  She was only $1.00.

IMPORTANT NOTE:
I have to say this one took a couple trails... I do NOT adhere ANYTHING until I am happy. Pins for this were a big help. 
Once things were heading in the right direction...the greens were added to frame everything and add a natural element.  I did use a hot glue for this project.  Our Angel is wired on just for extra security. 


Next was our scrap flowers from another project.... the tulle was from the same one.  The flowers did need some Bling... glimmer paper snowflakes to the rescue.


And of course it needs a bow... I just used the same tulle with 6 loops wired the middle and .... 
there you go!


So, I know, I have kept you in suspense long enough....


Thanks for stopping by today... 

Have fun getting Crafty!!